|
Calibrate Magnetometer -
This section is for
calibrating the GPS.
Before starting the calibration
the helicopter must be prepared.
The calibration process must be
done outside as the GPS must
initialize and receive signal.
So this means you will need a
laptop at the field.
Remember to do this away from
vehicles or any magnetic
sources.
To calibrate the helicopter must be rotated 180°
as perfectly as possible.
It does not matter how it is
rotated. It does not
matter that the heli rotates on
the same spot either.
If any metallic parts are
changed, for example the tail shaft,
then the whole calibration
procedure must be performed
again.
To start click "start
position".
CAPTRON recommends the
following:
From the manual...
|
Method A
Ensure that the GPS module is
still exactly in its original
horizontal position after you
have rotated the helicopter.
This means: the top surface of
the module’s case must lie in
the identical plane before and
after turning the helicopter.
Note that the landing skids are
generally not exactly horizontal
relative to the helicopter, so a
simple flat surface alone is not
sufficient.
One simple possibility is to
find a horizontal surface by
checking with a spirit level,
then to level up the GPS module
by placing packing pieces under
the skids, remembering to check
both (imaginary) tilt axes. The
skid packing you use must then
be attached to the skids before
you rotate the helicopter, e.g.
using adhesive tape. This
procedure ensures that the plane
of the GPS module remains
unchanged during the calibration
process.
Note: simply turning the module
itself is not sufficient,
because all the metal parts of
the model which have to be taken
into account must also rotate
with the module if the
calibration is to be accurate.
Method B
Carry out the calibration using
a flat but strongly inclined
plane, e.g. a wooden plate
packed up on one side: place the
helicopter on it and rotate it
for the calibration process,
without changing the inclination
of the plane. Ideally the plane
would lie parallel to the
Earth’s magnetic lines, which
are generally fairly steeply
inclined; however, a tilt of 25°
to 30° is quite sufficient, with
the lowest side facing the
closer pole of the Earth. In the
Northern hemisphere this means:
pack up the South side of the
wooden plate. The helicopter is
then turned through 180° on the
inclined plane. To obtain
particularly accurate
orientation, the skids should
also be packed up as described
above.
|
To use as a "base" I used a
large piece of plywood big
enough so the width is more than
twice the width of the landing
gear.
I leveled the plywood
using a large ruler with
leveling bubble. Shimmed
it using any material readily
available. (such as broken
main blades... :D )
I
used the "inclination" display
on the instruments tab to assist in
finding the perfect level of the
helicopter.
|
 |
|
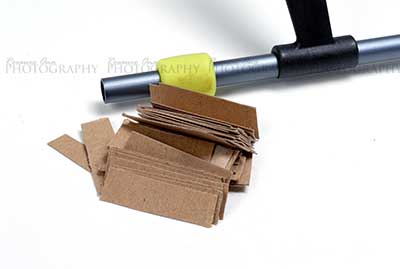
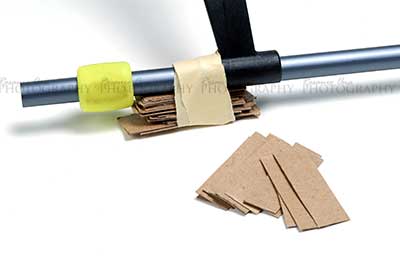
I used cut out pieces of
cardboard to add or subtract the height of one side of
the skids. |
|
| |
|
 |
|
I then wrapped masking tape to
secure the cardboard pieces to the skid. |
|
| |
|
 |
|
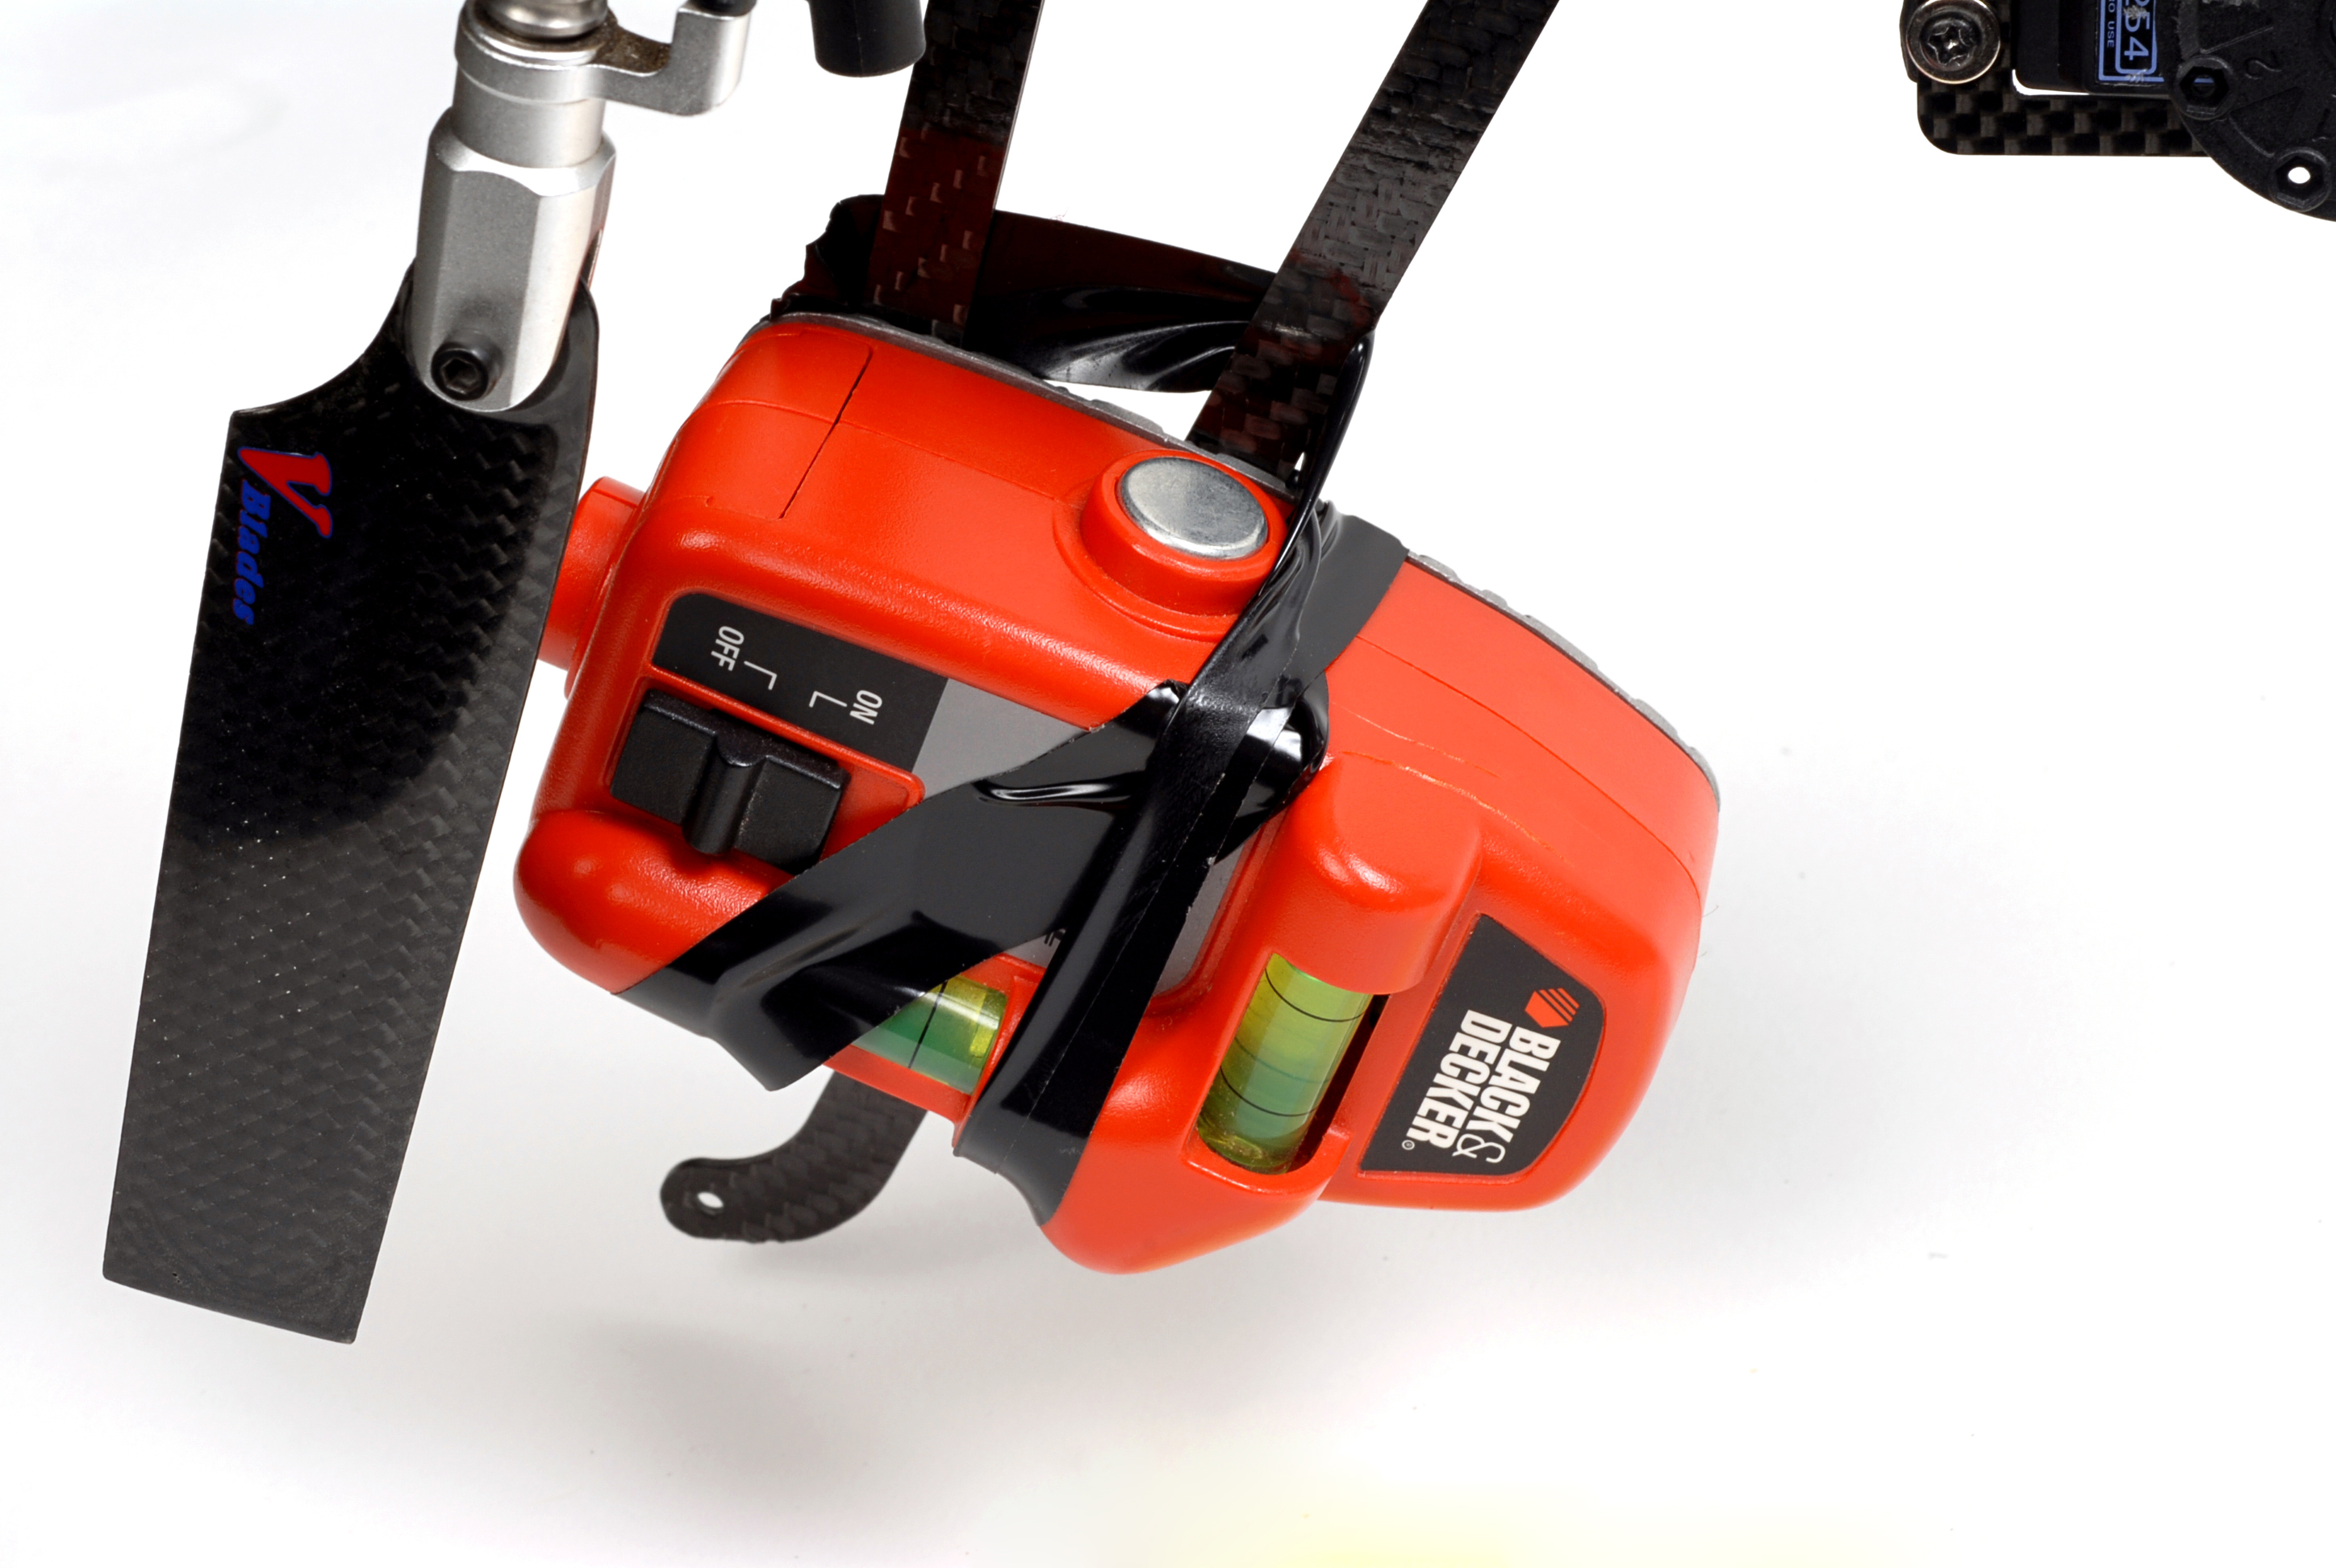
I strapped on a laser leveler on
the helicopter. The laser
leveler's line acts as the line
to reference for the rotation. |
|
| |
|
 |
|
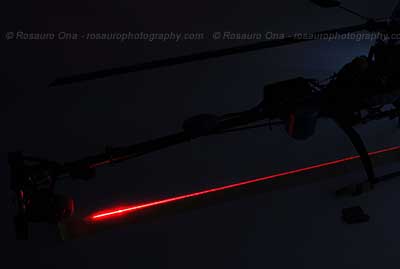
Turned on the laser
and marked the surface with masking tape.
I did the calibration
at night so it was easy to see the laser light. |
|
| |
|
|