|
There are a few ways to do this. I'll
be using the hack saw method. Literally just cut right
through.
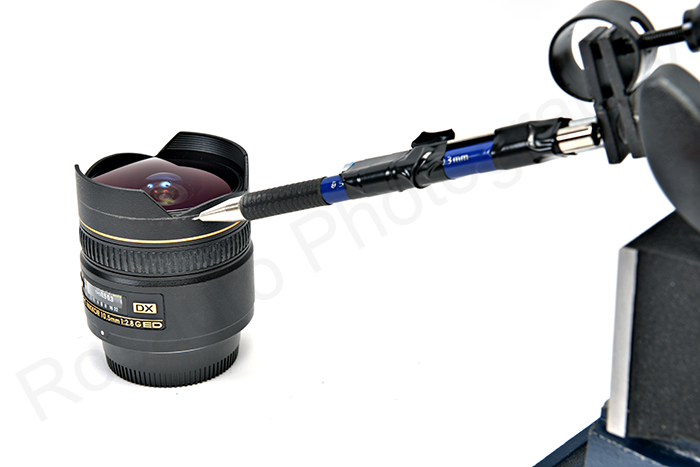
A preferred way would be to mount the lens on a turntable
type device, similar to what is used for milling, where the lens could
be locked and rotates concentrically. The same turntable can
also move along a lateral axis towards a rotary cutting tool.
The rotary tool can be adjusted for height.
All you would need to do is to
slowly rotate the lens manually. I would prefer this way but I did not
have a turntable surface for the lens. This would leave a
cleaner and consistent cut compared to that of a hack saw.
This technique is similar to how it would be done on a milling
machine.
NOTE: Once you cut the
hood any warranty you may have left is voided.
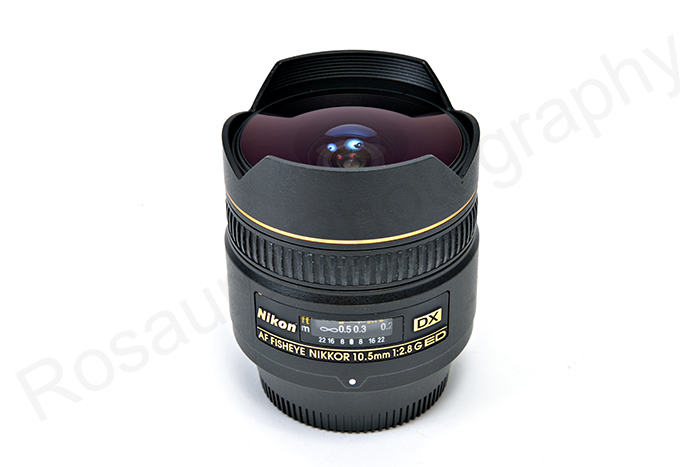
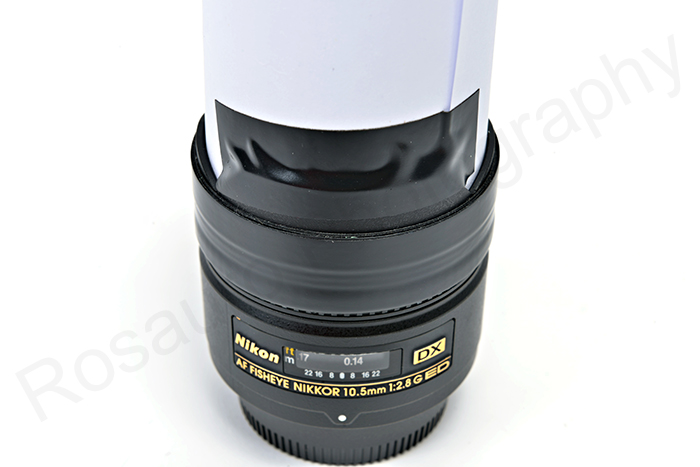
One last look before its
surgery....
I'll get right to business.
Difficulty level: Medium -
meaning it helps if you have some building/mechanical experience.
You certainly do not have to be an expert at cutting.
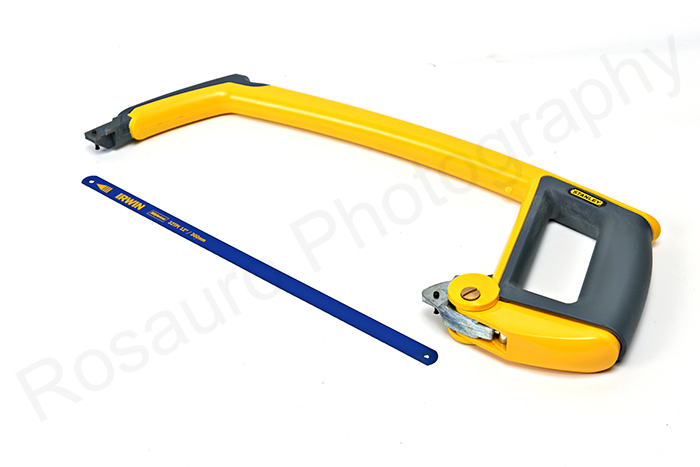
Tools you'll need:
- hack saw
- pencil
- paper
- electrical tape
- utility knife
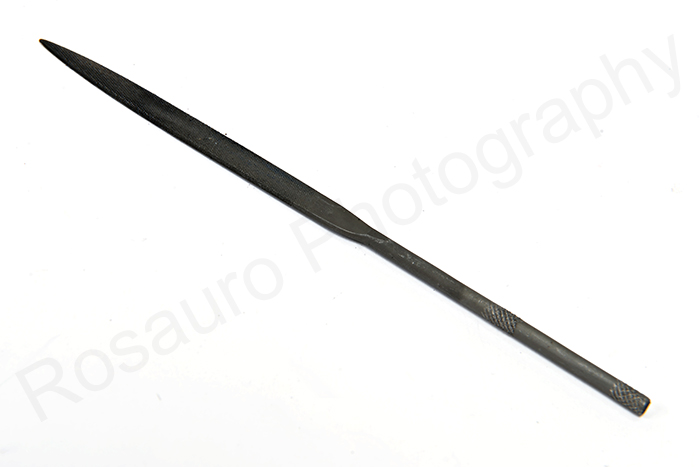
- small file
Mount the pencil on a steady
platform. Slowly spin the lens making a mark around the lens'
hood. I marked mine at the corner of the hood. I also
spun the lens several times to make the pencil mark a bit more
prominent.
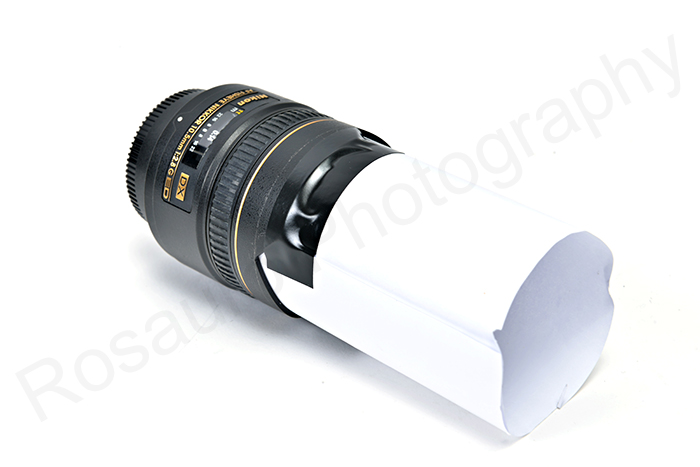
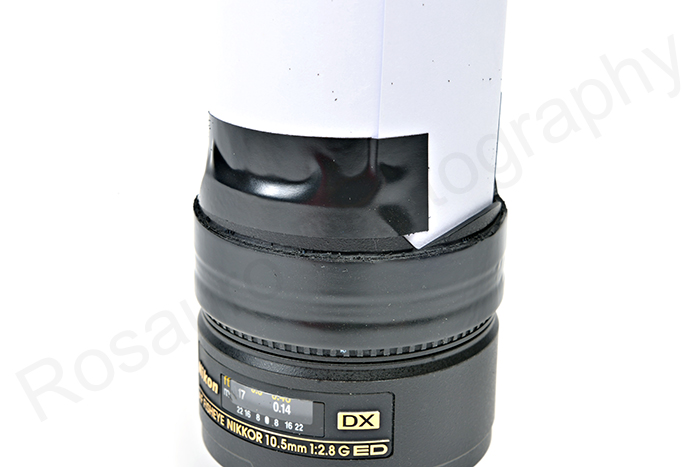
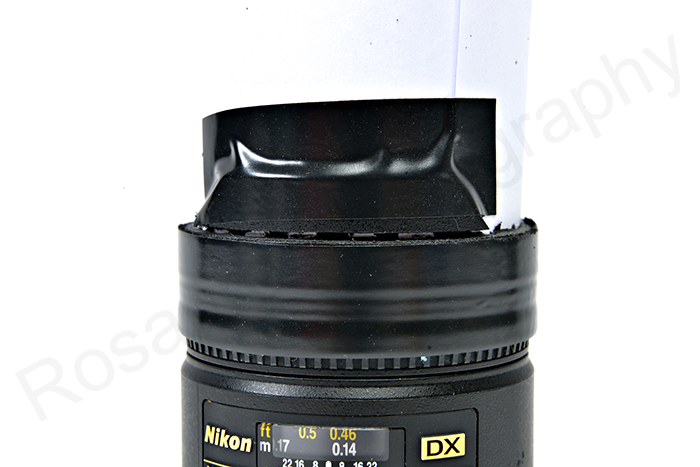
Roll the piece of paper and insert
it between the lens and
hood. This will act as a protective layer and will let you
know once you've cut through the hood. Tape it down as shown.
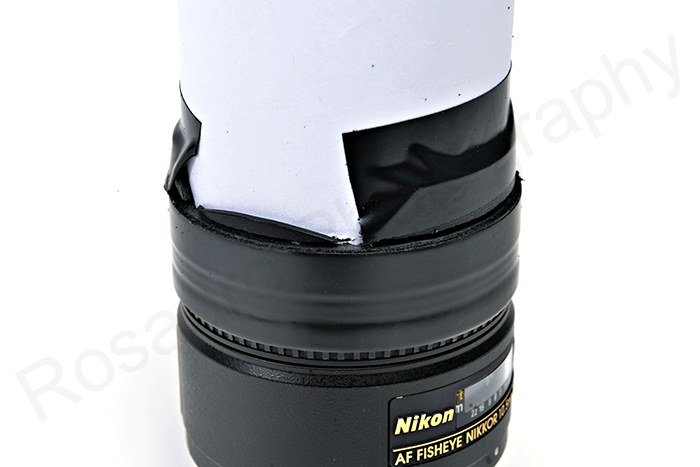
Wrap tape, lining up the edge of
the tape, at the pencil
mark. Wrap the lens several times so it creates a thick layer. This will
act as a saw guide. Before you do this move the focusing ring
so it's at its closest position. The tape will also hold down
the focusing ring. When the focusing ring is at its closest
position the lens will move outwards. This will prevent the
saw from accidentally damaging the lens.
I installed a new blade into the
hack saw. The tooth is facing forward.
To cut I hand held
the lens and pushed the saw forward about an inch at a time and turned the
lens and pushed the saw again. Continue this cutting pattern until a groove begins to form.
I never pulled the saw back. Stop and inspect
your work. Stop every so often to vacuum the shavings.
You do not have to apply hard pressure like you would normally
cutting metal for example. Gently push the saw is all that is
required. The material is relatively soft. It is not as
hard as one would assume.
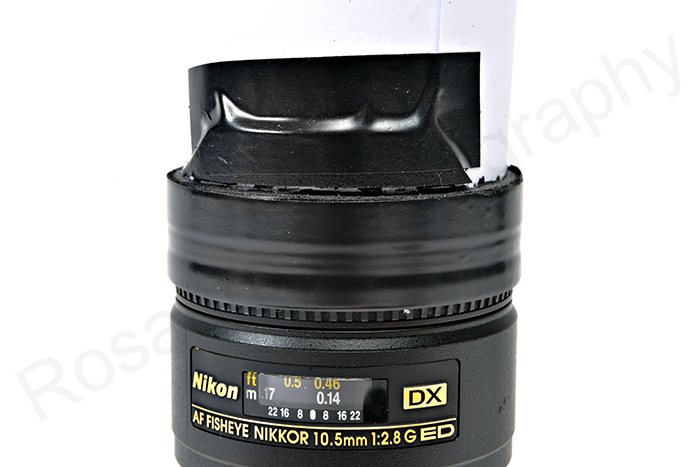
Image above shows the first time
cutting through the hood. Once I got to this point I slowed
down the cutting and checked if I had gone through the material with
almost every stroke of the saw. This is a clear sign that
cutting off the hood is approaching.
Finally cut through most
of the hood. This is where I stopped using the hack saw.
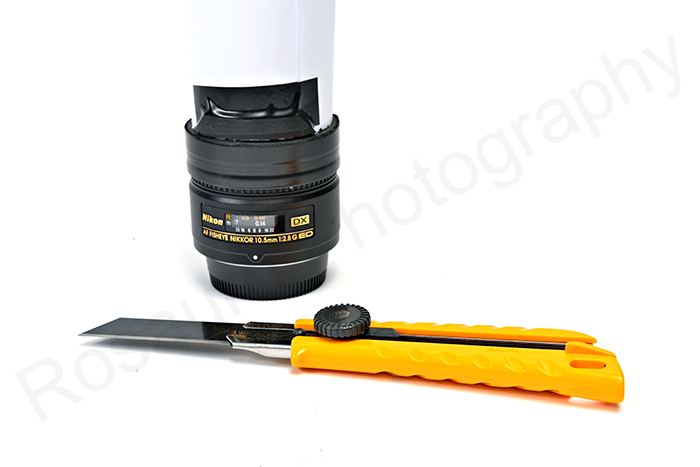
Use the utility knife to slowly
cut through the remaining hood. It should be fairly easy to
cut through.
Finally cut all the way
through.
Before lifting off the protective
paper vacuum around the lens.
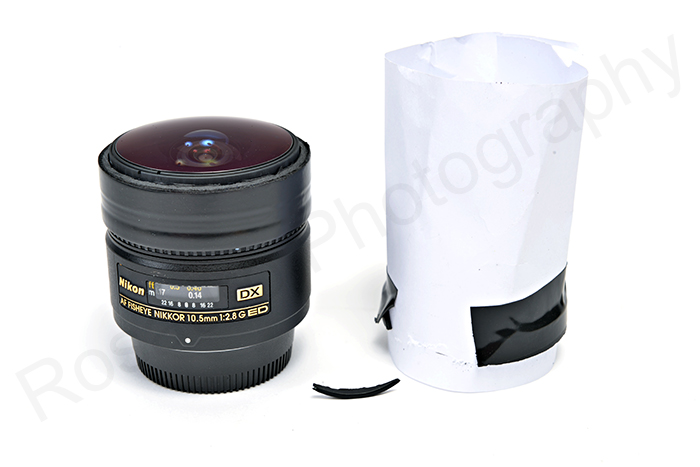
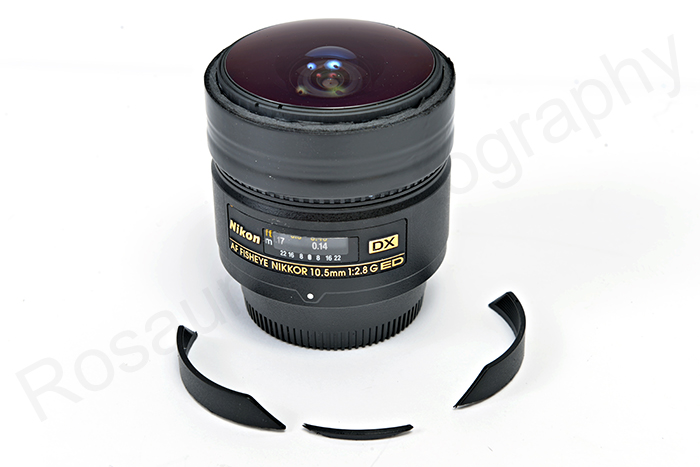
The remaining pieces. I
lost the other smaller piece in the garbage bag... ;-)
Use the small file to clean off
the edges.
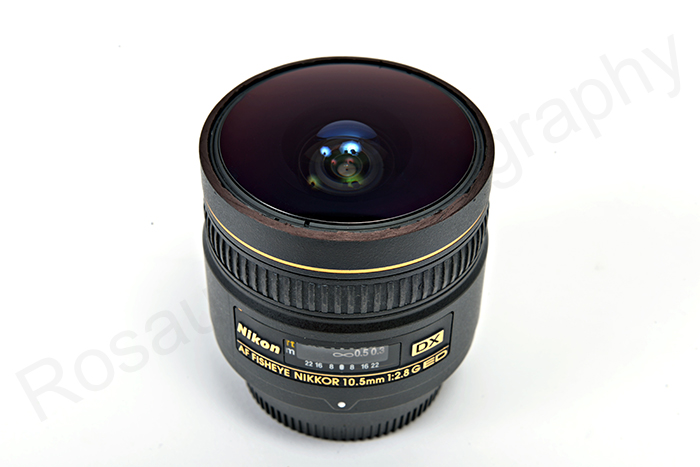
Taa daa!!!! Success!
I coloured in the edges with a black marker.
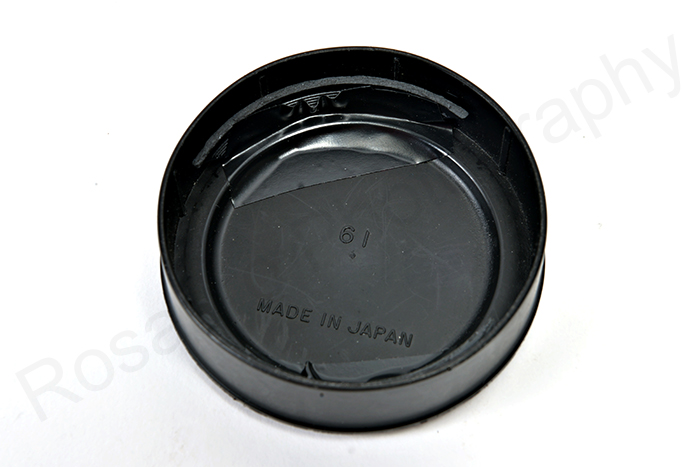
Use the remaining smaller
pieces and tape or glue them inside the lens cover. This way
the lens cover could still be used to protect the lens.
The lens cover back on.
Difference before and after on a
fullframe sensor.
When in portrait mode it is
possible to shoot 3 image for a complete spherical but advisable to
shoot 4.
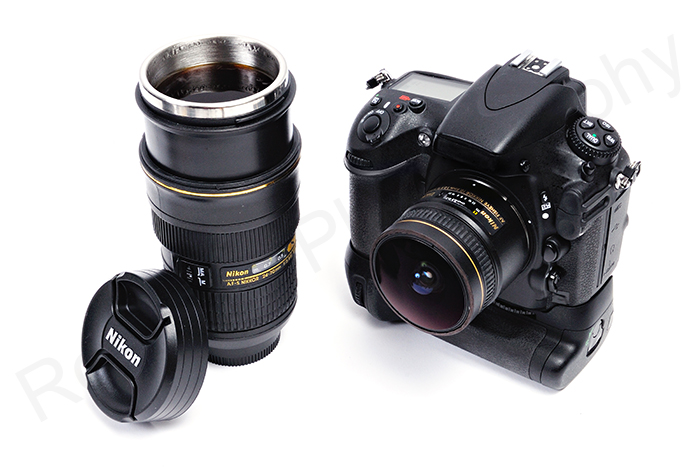
A well deserved coffee break!!!
Would I do it again? Yes!
I should have done this long time ago.
How long did it take? 1.5
hours from start to finish.
What would I do different?
Cut it slower. After cutting through for the first time I
forgot about where I was in the rotation and I scratched the metal
part of the lens. Not a big deal. It's just cosmetic.
I think I went a little bit fast on the cutting.
Alternative? If you are not
comfortable with this procedure you could go to a local machinist
and have them cut it for you.
DISCLAIMER:
Any use of information,
in text or images, in this page is entirely at the risk of the user.
Rosauro Photography assume no responsibility and shall not be held
liable, directly or indirectly, to the user or any other third party
for any damage or injury resulting from the use of the information
within this page. Rosauro Photography hereby formally
disclaims liability in respect of such abovementioned matters.
|