|
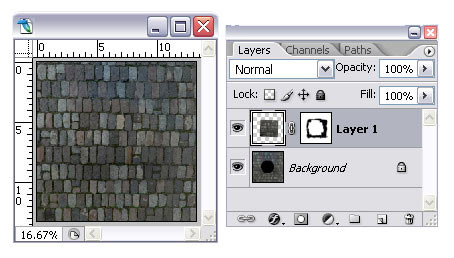
In
Photoshop, open the defished image, copy the
corresponding area and paste on top of the cubical nadir.
Add a layer
mask. You may have to use other tools such as
warp, distort, skew, levels, saturation, etc.
Understand
how to work with layers
here.
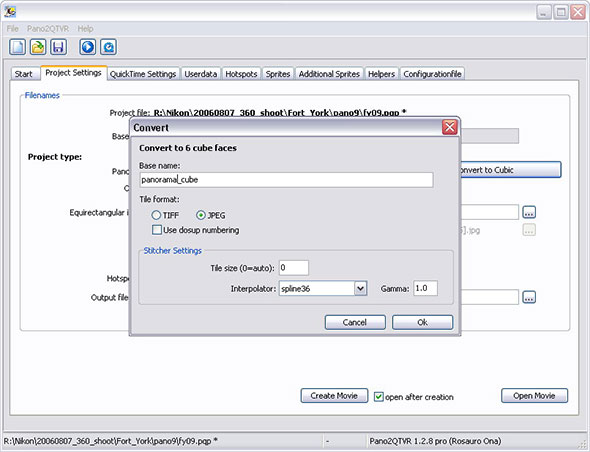
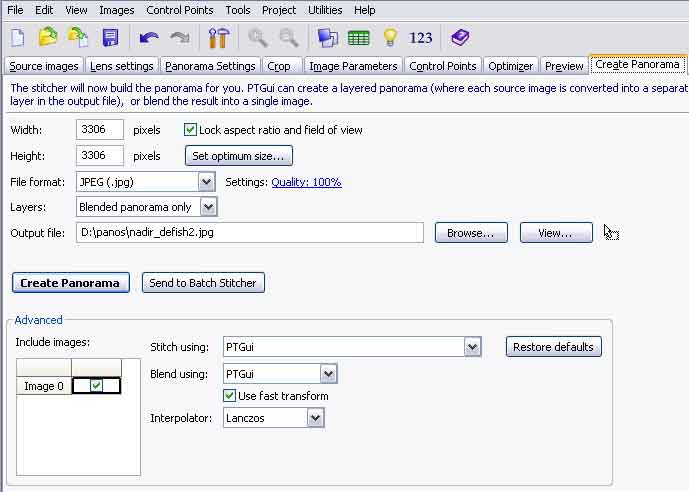
Once
finished editing, in PANO2QTVR, re-convert the six
cubical images back to an equirectangular image. |