|
 |
Nadir
Shooting Techniques...
Avoiding Shadows |
|
Someone asked, "What if
there was light right above you? How do you avoid shadows from
your camera, tripod head and/or arm?"
|
II
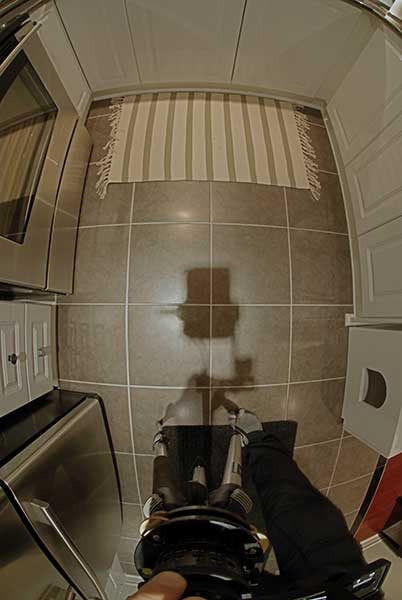
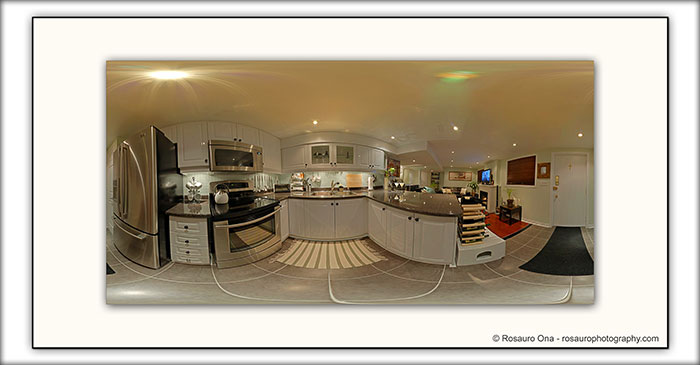
came upon this same situation where I was shooting an interior shot
of a kitchen. It has a lot of pot lighting
and reflective surfaces. A photographer's nightmare.
Avoiding shadows altogether is any photographer's responsibilities.
Plan your shots ahead of time. Pick a time of day. Sunny
days versus cloudy. Dusk? Noon? Dawn? Use shadows
to hide your shadow. Same for interior. Use blockers to
block out light sources that's creating a shadow. For example
mirrors. I've covered a mirror that was reflecting light and
creating a shadow of myself onto another wall. If all else
fails clone them out in Photoshop.
|
A perfectly leveled
nadir shot but too bad the shadow got in the way.
Obviously the shadow was caused by
the pot light directly above. Situation like these even the
clone tool can't fix due to the variation of light
gradation from various directions. Too much work
to perfectly clone. |
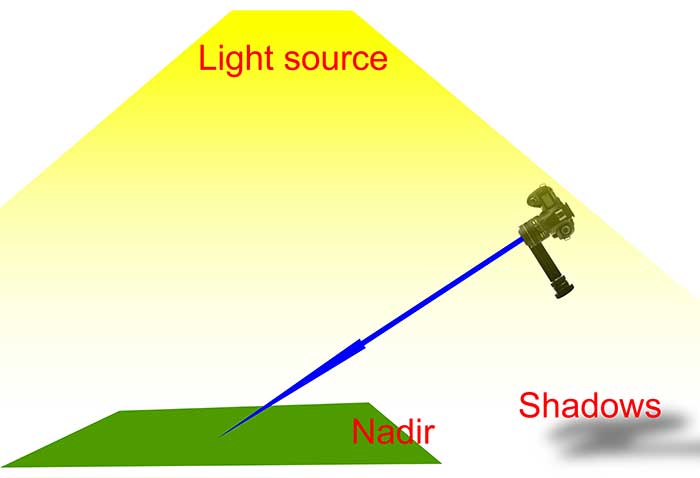
There is a simple solution. Take
three nadir images. Two with the pano head, 180° apart, and a
third shooting at an angle towards the center of the nadir.
See image below. Position yourself so there is no shadow cast
on the nadir area.
NOTE:
There is no exact angle to shoot down. The angle depends on
the position of the shadow cast on the ground relative to the nadir
image you're trying to acquire. The angle of the camera below
is an exaggeration of the position to clearly illustrate the idea.
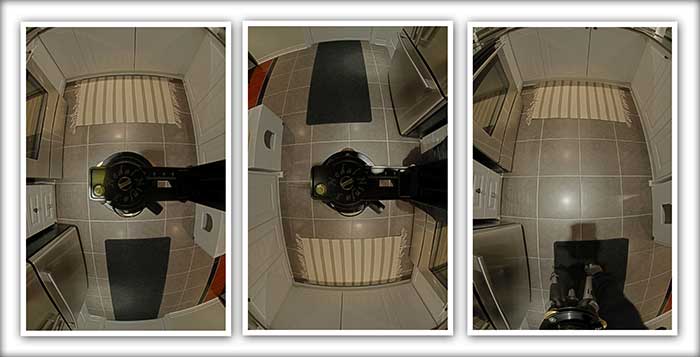
Here are the three nadir
images...
Layer the three nadir images and
mask in Photoshop.
(Understand layers here)
The top layer should be the image
that you took on an angle. Since this image is not perfectly
flat you will have to manipulate this image with the transform tools
in Photoshop. Change the opacity of the top layer to about 60%
so you can align it. I scaled down and skewed the
image to perfectly match the two lower layers.
Notice the size of the top layer
as illustrated by the transform tools' anchor points. Copy
only the area needed to patch the remaining hole. It will make
alignment much easier.
Include the edited nadir image with the rest
of the images to stitch in your stitching program.
UPDATE:
Alternatively with the new option in PTGUI's Viewpoint Correction it
is possible to stitch the nadir with the rest of the images for this
situation. Output the file as a blended and layer PSD
file. You still may have to work with the layers to further
fine tune the image.
 VR
VR
OUTDOORS
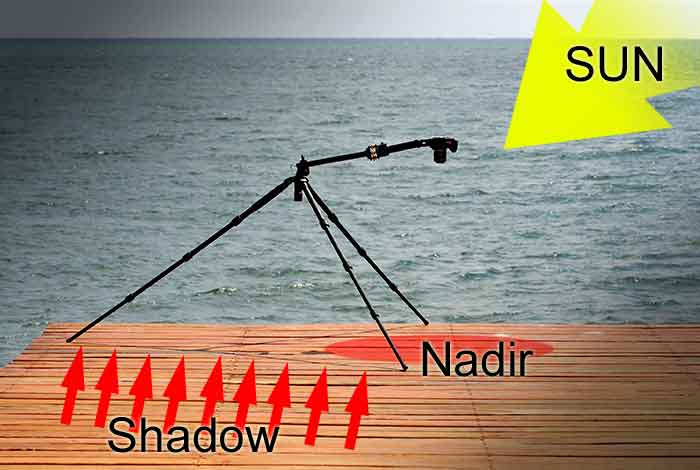
When shooting outdoors, before
you shoot, take a look at where the sun is in relation to your
setup. Have a look at where the tripod is casting its shadow
and adjust accordingly.
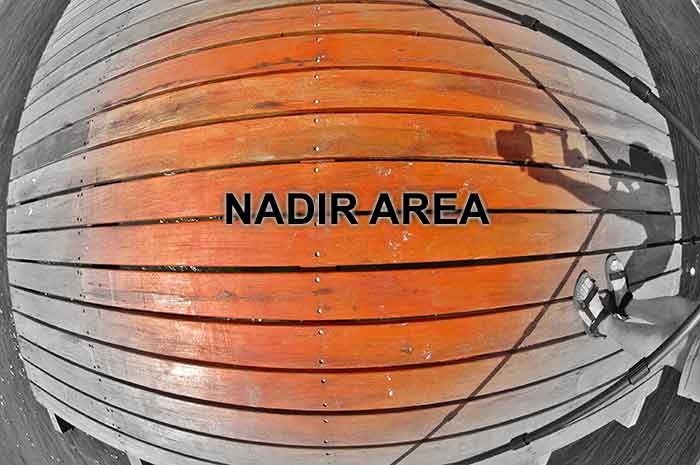
A large clear area of the nadir
to work with.
|