|
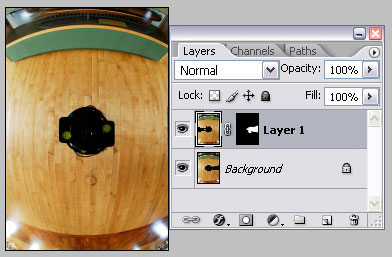
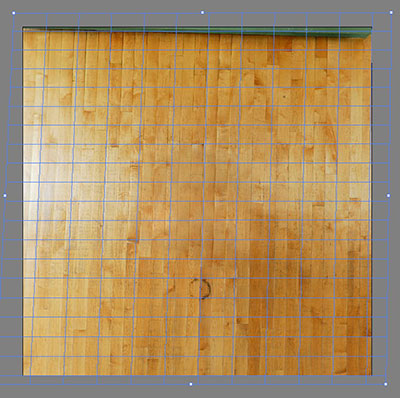
In
Photoshop, there are various ways of filling in the
hole. For this particular nadir, I used the
vanishing point tool.
Other tools
to use: Clone tool.
Read up on this
technique
here.
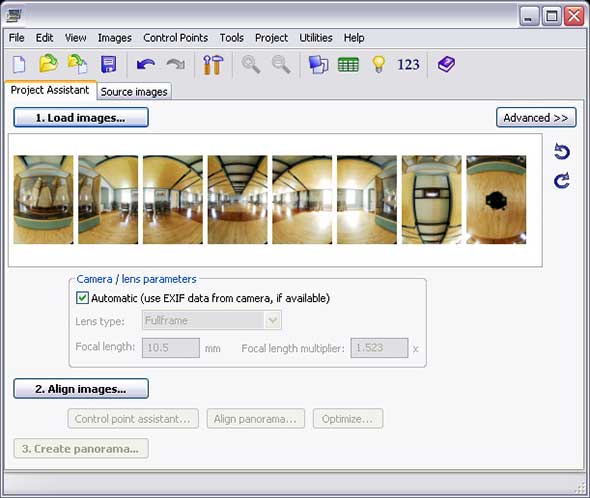
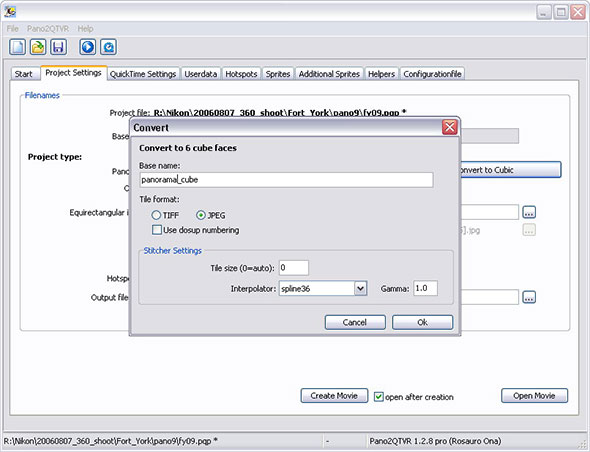
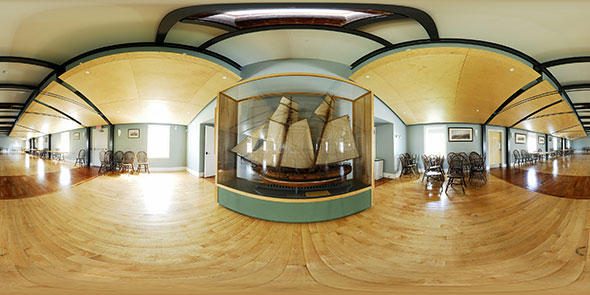
Once
finished editing, in PANO2QTVR, re-convert the six
cubical images back to an equirectangular image. |